
Integrate Facebook With Salesforce –
As per the statistics, Facebook had 2.45 billion active users in the year 2020. This is a very big figure. And day by day it’s increasing. Today, having a social media account becomes the need of every individual user. Social media helps to create connections between your business and your customers.
To achieve this Organizations are mostly using a CRM that uses Social Networking or Social Connection between you and your users. It also helps to manage the Leads, Users in low cost and lesser time.
All the social media Integration we can do easily with Salesforce CRM. When we integrate the Salesforce Service Cloud Einstein feature with Facebook it becomes more powerful for our business. There are so many features like keywords, language detection tools and classifiers, these ensure that your team is immediately alerted to the social media posts for that they may require immediate action.
These alerts will surely help your business sales team to understand what your clients actually want, what they like or dislike, and what questions they exactly have regarding your products or your services. After Facebook integration you can respond quickly to a social media post as soon as it helps to improve user experience, either with the option of an email, a phone call, or with an online chat session.
Here are the 2 main methods with steps given in brief for Integrate Facebook With Salesforce –
- Setup account Method
- Log in to your Developer Account
- Go to Setup > Build > Develop > Pages
- Click on “New” option from the redirected window screen.
- Create a Visual force Page
- Paste the code given in this article under the detailed steps part.
- Quick find Method
- Log in to your Developer Account
- Go to Setup > enter the social account you want to add > Social Accounts > Contacts Settings > Select the social networks you have access to.
- Click on Save and done.
Nowadays Facebook is the most commonly used social media platform, Now we will discuss in detail, how to Integrate Facebook With Salesforce;
Here is a step by step guide to Integrate Facebook With Salesforce –
Integrate Facebook With Salesforce Methods
Method 1 – Setup Account Method
Step-1 – Login / Create Account
You first have to Login to your Salesforce Developer account, If you don’t have any please create an account first.
Step-2 – Setup Your Account
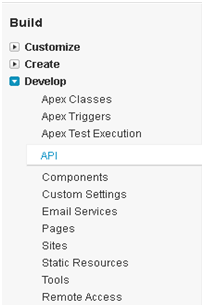
- Go to the option of Setup in your account
- Then Select Build
- Then develop
- Finally the ‘Pages option’ which is the 8th option as you can see in the screenshot given here
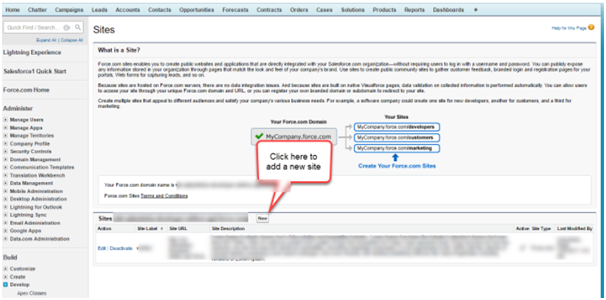
Step-3 – Choose the Alternative of ‘New’
Next option is to choose the alternative of ‘New’ from the window that appears, it would be similar to the one given in this screenshot, however, this screenshot talks about editing site option, your pages window would have the similar attributes-
Step-4 – Create a Visual force page
Create a Visualforce page in your Salesforce account with the name, let’s say ‘Facebook Integration’, in the field type Facebook Integration. In the name field that is there type ‘Facebook Integration’.
With the help of a screenshot taken, let us see what the visualforce page window looks like-
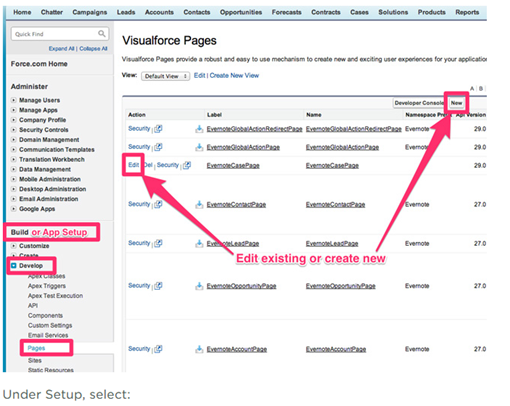
The image clearly explaining where all the options are present in the Salesforce Visualforce page window.
Step-5 – Paste this Code
You are then required to paste this code as it is given here in the visualforce page editor
<apex:page><div id=”fb-root”></div><script>(function(d, s, id) {varjs, fjs = d.getElementsByTagName(s)[0];if (d.getElementById(id)) return;js = d.createElement(s); js.id = id;js.src = “//connect.facebook.net/en_US/all.js#xfbml=1″;fjs.parentNode.insertBefore(js, fjs);}(document, ‘script’, ‘facebook-jssdk’));</script><apex:pageBlock title=”facebook Integration” mode=”edit”><apex:pageBlockSection title=”facebook Comment Block”><div data-href=”http://example.com/comments” data-numposts=”5″ data-colorscheme=”light”></div></apex:pageBlockSection></apex:pageBlock></apex:page>
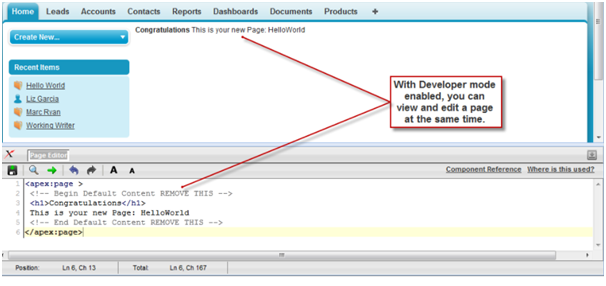
The screenshot taken from the website of Salesforce depicts the window that will appear to you while you are editing your Facebook Integration field, it will be something similar to this only-
This is definitely a long-lasting way to integrate your Facebook account with your Salesforce account. However there lies an easier way as well for this, for the beginners i.e. Quick find method. Let us see the step by step approach how it works actually
Method 2 – Quick find Method
You have to follow the below steps to use Quick Find method for Facebook Salesforce integration
- Open the Setup menu in your Salesforce Account, Enter the Social Accounts that you want to add to the Quick Find box.
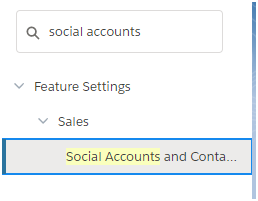
- After that select the ‘Social Accounts’ and ‘Contacts Settings’ option given right there.
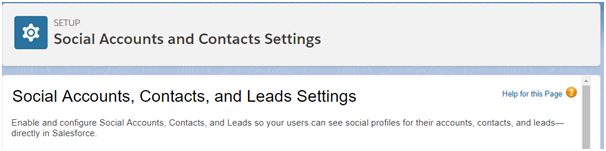
- Choose the social networks that your association can currently access. If you don’t follow this step, then by default, Salesforce selects all the social networks automatically.
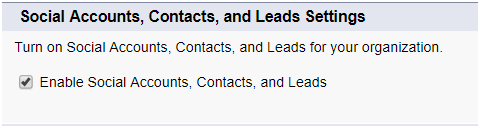
- Click on the Save tab at the end.
Final Words
Well, we hope we have provided you a detailed and better way to make your Facebook and Salesforce integration easy. These are very easy steps to follow and I hope the given screenshots will help you a lot.
Keep Sharing.!